Why optimising images for web is important
Optimising images makes the image fast to load and easily understood by search engines like Google. It includes changing the size and adding a relevant file name. Learn more about why we optimise images.
We use Adobe Photoshop, but here is a great FREE alternative called BeFunky.
It doesn’t require anything to be downloaded and it is super easy to use.
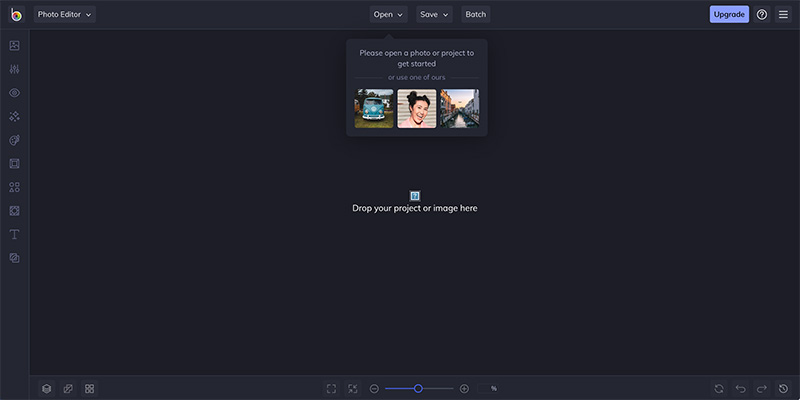
Head to befunky.com > Get Started
Selecting images to optimise
Drag the image to be optimised into the window or select Open to find the image on your computer or storage space.
Resizing an image
In the panel on the left select Resize.
In the fields available add the correct image width for the purpose you are using it.
- 1920 x 600 pixels for full width or hero images. Sometimes hero images are a bit deeper.
- 1000 x 668 pixels for blog post featured images.
- 800 x 534 pixels for use half screen width
- 500 x 334 pixels for use a third screen width
Keep Lock Aspect Ratio ticked so that the image doesn’t distort.
Save the file to the place you’d like it saved.
Naming the file for optimising images
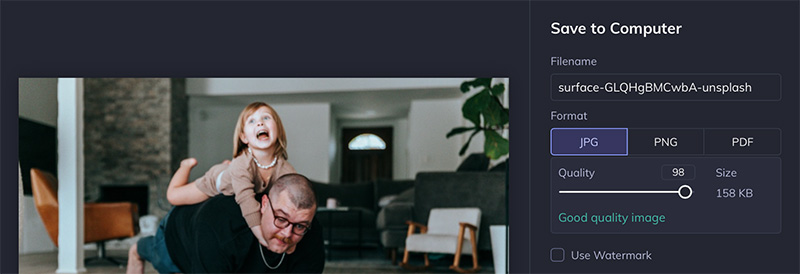
In the box that opens add a name that describes the image or add a keyphrase for SEO. Don’t be tempted to skip this step.
In this box you will also be able to change the file type and size. Good Quality is ideal for web use. Save.
Now you can find where you saved your resized file and upload to your website page.
Let us know what you think
There are many free features in BeFunky and there are paid options also.
Let us know what you think and if you’d prefer us to do the images for you that’s fine too. Just get in touch with us.


