If you have ever built a WordPress website using the Divi theme you may have come across the jumping header. It’s pretty annoying from a user’s point of view and if you don’t address it there may be ramifications to the website’s content layout shift (CLS). Luckily it’s pretty easy to fix the jumping header in Divi.
So why do some sites jump and not others?
It’s actually pretty common and occurs when the theme customiser settings are altered.
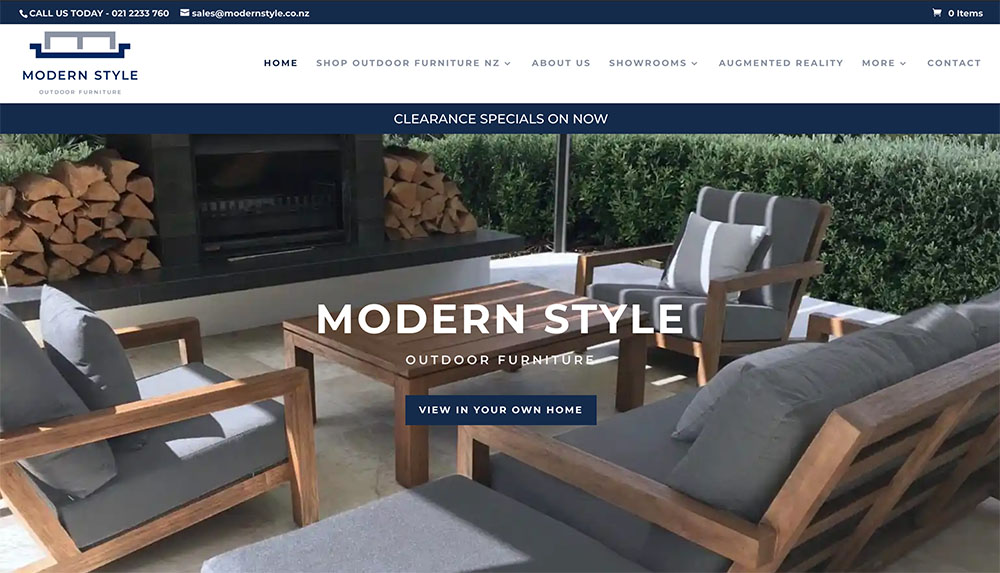
You can see below that we changed the menu bar height from the default to 103px. We did this because the logo has quite small type and we wanted it to be clear to read. Changing the menu height means we can make the logo bigger and still have a little space on top and bottom.
If you make changes in the customiser Divi applies CSS to make the changes. To make them happen Divi uses Javascript and applies the CSS via the style attributes. This is a problem because the CSS gets loaded before the Javascript with the style attributes and that’s why you get a jumping header.
So how do we fix the jumping header in Divi?
Luckily it is a relatively easy fix if you know how to use a developer tool in Chrome. All we do is add a little extra CSS that includes our attribute values to Divi.
Step 1. Find the style attributes using developer tools
Open your site in Chrome and View > Developer > Inspect elements
Or you can right-click on PC or control-click on Mac.
Hover over the main header area and it will highlight.
Then look for the code in the inspector to find the attribute values marked below and write them down. The padding-top and the top value. Your values will be different to those in the pic below.
Step 2. Add the CSS
Next we add some CSS to the site. You can add it to the Divi child CSS or you can add it to the Divi theme options Divi > Theme options > CSS
Add the code snippet below and replace the values with the two values you recorded.
/* JUMPING HEADER */
#page-container {
padding-top: 114px !important;
}
#main-header {
top: 32px !important;
}
The secondary menu tweaks
I found that I needed to add a 33.5px extra to both values to allow for the secondary menu. There is a difference on Safari with this – I don’t know why so I took off the extra.
Check out the original
We used CSS to change a specific menu item on the following sites:
More advanced tutorials on our Quick Tips page


