Editing Divi background images in your WordPress website
Editing Divi background images is simple to do. It is similar to adding an image to a standard image module.
To begin adding a new button on your website Login to your website using your user name and password.
Select the page or post to be edited.
The following steps will show you how to edit a full-width screen background image on your website.
Step 1 – Optimising your replacement image
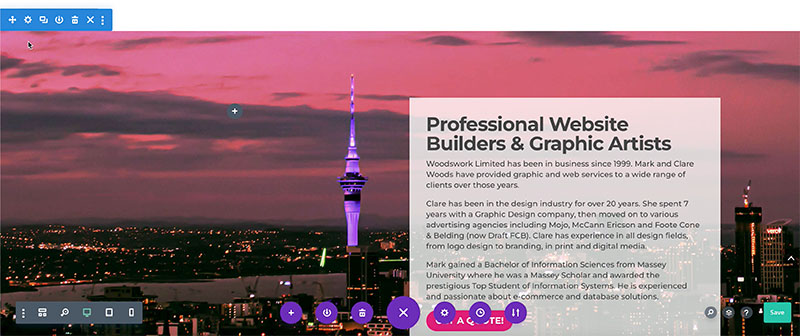
The image below is an example of a full-width image. The recommended size for these images is 1920px wide. Optimising your image will make it load faster and speed is important. We cover this in our Training Tutorial, Optimising images for web
Visit the tutorial Adding or editing an image module if you need to know how to edit a smaller image box.
Step 2 – Editing the section
To change this image we will be heading into the section in behind the row.
Click on the cog tool icon in the BLUE section toolbar to open the section settings.
Extras
The sections are indicated with a BLUE toolbar.
The rows are indicated by a GREEN toobar
Modules, such as text boxes, are indicated by a GREY toolbar.
See our training The Basic Tools for explanation for a full breakdown of the tools.
Step 3 – Editing the Section settings
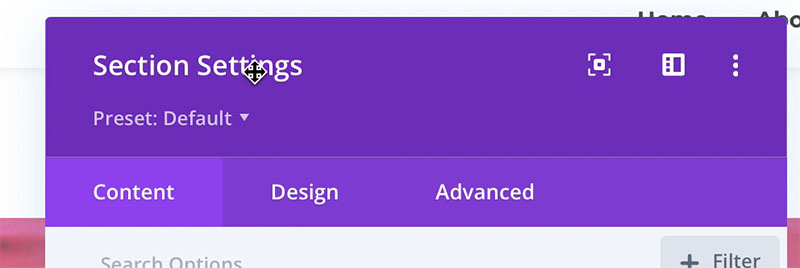
After clicking the cog tool you will see the Section Settings box open.
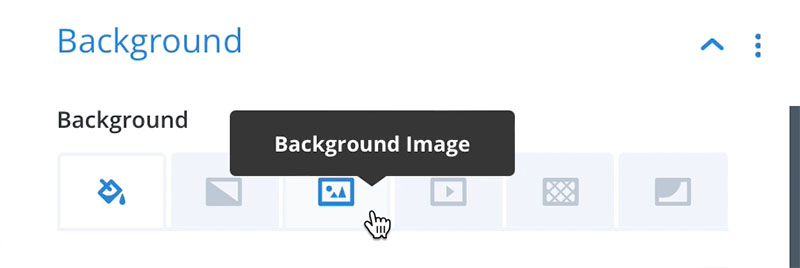
Click on Background Image.
Step 4 – Replace the image
You will see an image in the window. In the top right hand corner of the image there is a Cog. Click the Cog.
Step 5 – Select or upload an image
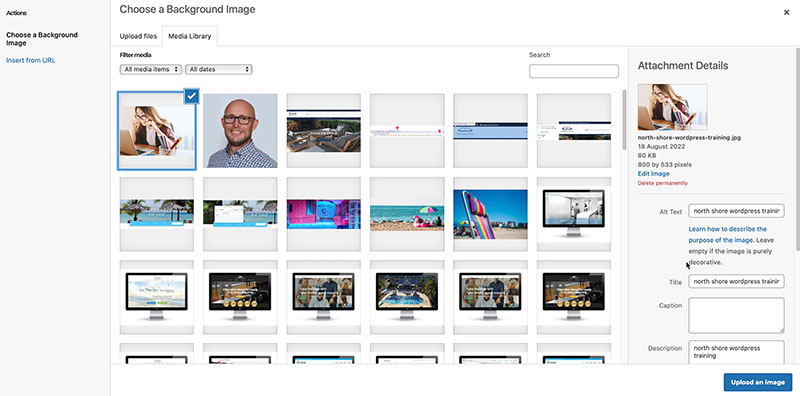
This opens the Media library where you can select and exhisting image or upload a new image. Next click the bottom right hand button to Save the selection.
NOTE
I used an image that was not fit for purpose to show you the result of not using correct sizes for large images. You may notice that it is fuzzy or pixelated.
Relevant tutorials and articles
You can head to our Woodswork YouTube Channel to see all the videos in one place.


