Sticky content update
Since this post was originally written Divi have updated the theme to include sticky content options.
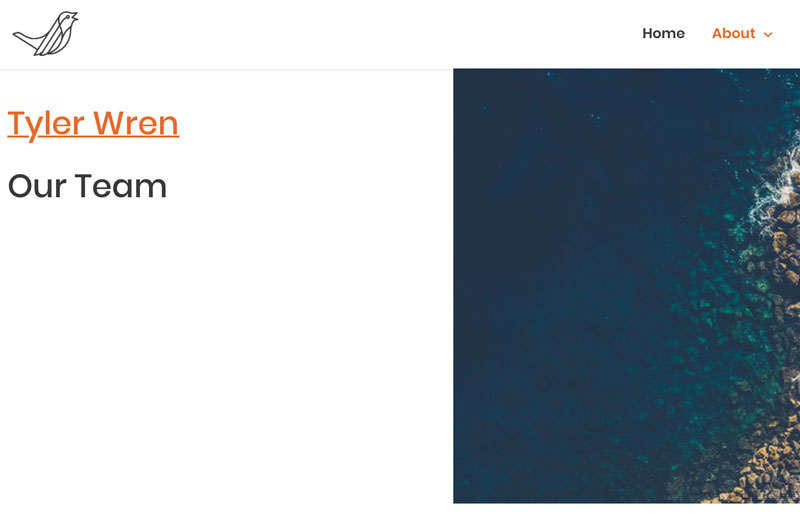
Divi Sticky Options is a new feature that enables you to stick any element to the top and/or bottom of the browser. When scrolling up and down the page the element assigned as sticky remains in the position you set. You can create sticky headers, menus, and buttons just to name a few. You’re even able keep other important information in view as you scroll. This works beautifully for calls to action or floating opt-in forms. The options are unlimited for this feature.
Style adjustment and transitions in sticky content
Sticky elements can also be applied with unique styling. When sticky options are enabled for an element, all design settings obtain new sticky state styling options. Meaning elements are able to have two different styles: a standard style, and a sticky style. Once the element is sticky, the design will transition from its original style to its sticky style. How cool is that!
Sticky menus
To make anything sticky in Divi you can easily do it by adding the Sticky Menu or Anything on Scroll plugin by Mark Senff. Sticky elements can be a great addition to the functionality of a page.
It can be applied to rows, a column or a specific module.
I add this straight from the WordPress plugin window, so no need for an upload.
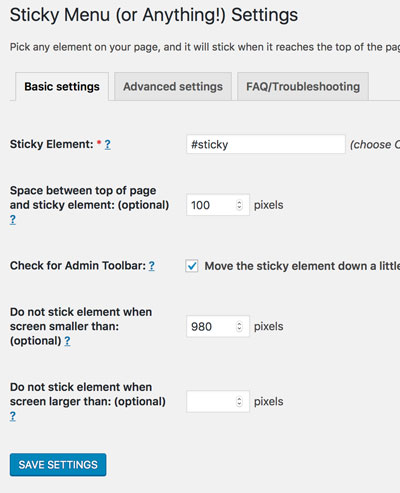
Then head to the Basic Settings and add a few bits of information as in the pic below:
- CSS ID such as #sticky
- Space from top of page
- Switch off for mobile if relevant
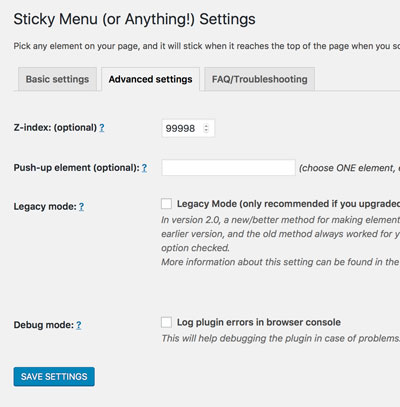
Then head to the Advanced settings to add the Z-index so it floats on top of other elements underneath.
If you want it to STOP being sticky before a certain row, add another CSS ID such as #stop in the Push-up element field.
Here is a great tutorial on Creating Sticky Elements